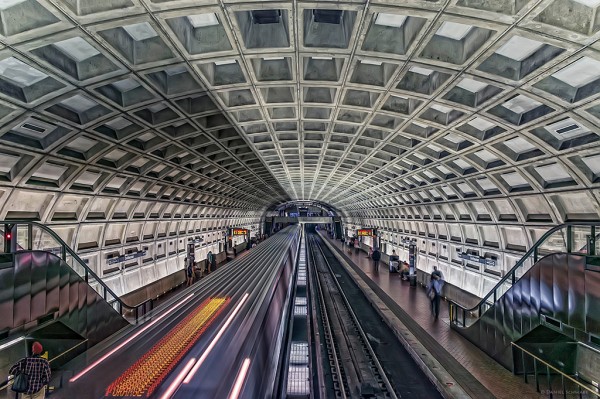
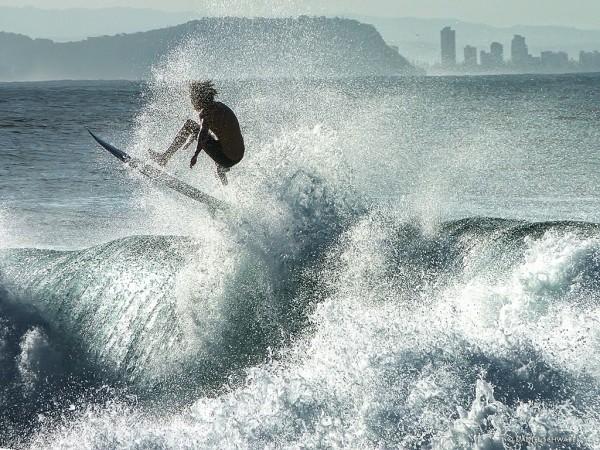
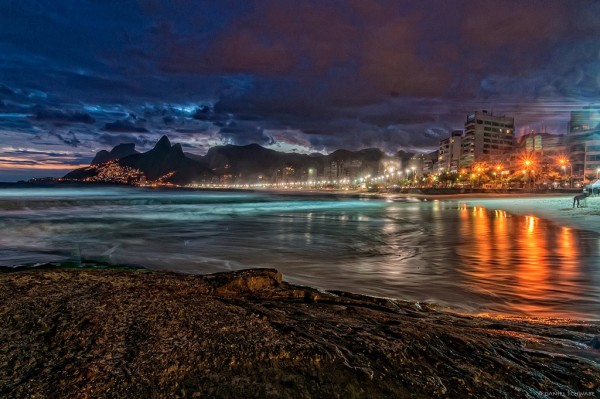
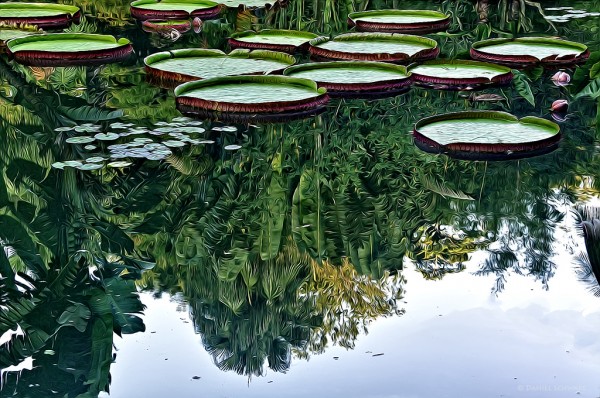
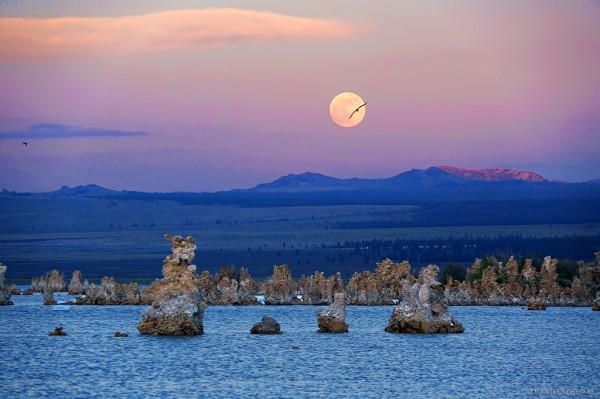
Each Monday, we’ll highlight one indie photographer whose body of work deserves special recognition. Please enjoy their photography here, and make it a point to enjoy the rest of their work on their website.
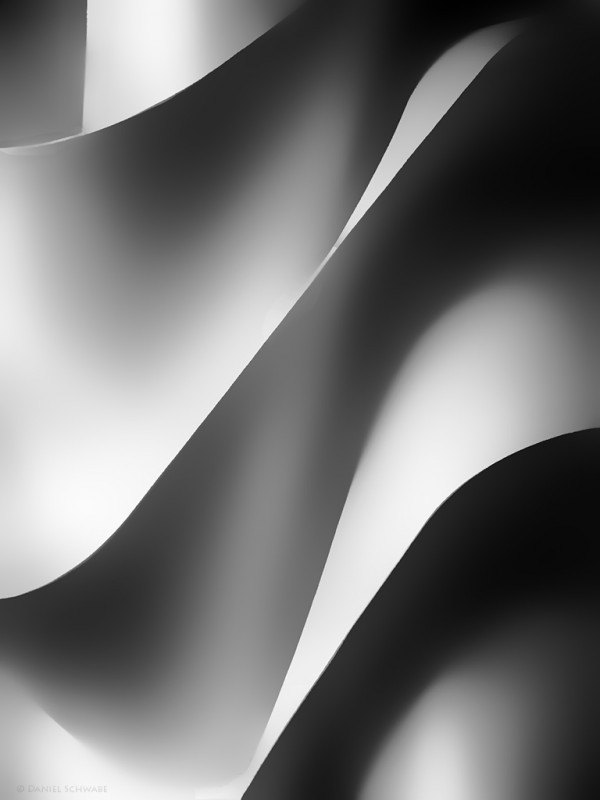
This week our spotlight shines on Daniel Schwabe from Rio de Janeiro, Brazil.  Daniel prefers to look for great images, either in the natural or man-made environment, he does not like to confine himself to one particular style but he does like to capture those “hidden†images that lie all around us, waiting to be discovered.
Kit:
Daniel’s kit includes  a Sony NEX 5N and a recently acquired Canon S100, however, most of his photography  is done with his trusty NEX 5N.  To complement his primary camera he uses a Sony SEL 18-200mm (24-300 35mm equivalent) zoom as his main lens. he finds the Sony SEL 18-200 to be very good and versatile, covering a very wide range of uses and  focal distances. He also has a 16mm wide angle that he uses on occasion.
Workflow:
Daniel shoots entirely with natural light, using a tripod and filters when necessary (although he prefers handheld). Daniel uses RAW+JPEG as the capture mode (except for in-camera panoramas, which only get captured as JPEGs).  Daniel then imports his photos to his Mac where he has in place a robust archiving system that utilizes 3 separate hard drives as backup, plus online accounts for the processed images. Once on his Mac, he uses Photoshop on the RAW images and also Nik Software’s filters (Color Efex and Silver Efex for B&W conversions) as desired.  Should it be necessary he further processes his images using Imagenomic’s Noiseware for noise reduction.  From time to time he also experiments with some “creative†filters, such as PixelBender (now integrated into Photoshop 6).
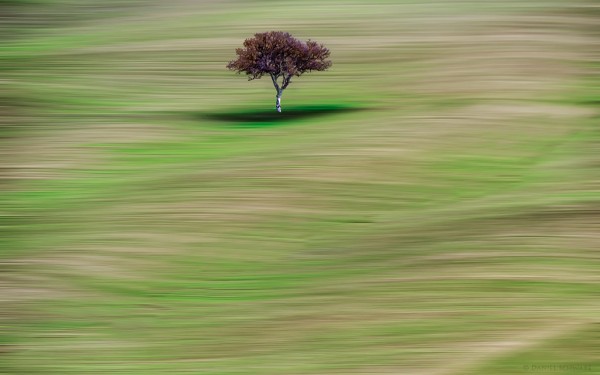
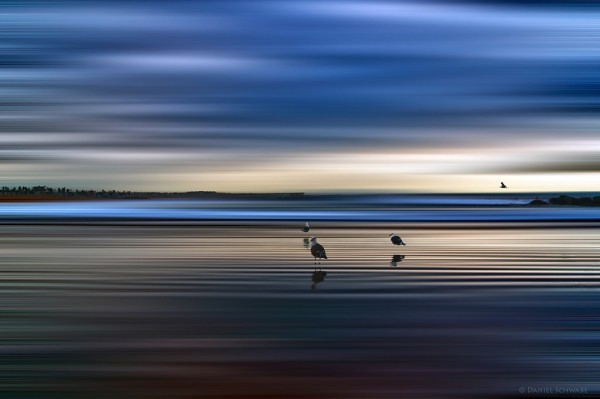
Daniel likes to use Color Efex “Tonal Contrast†filters; he has some presets as a starting point but he also always check the levels, and experiments with the “auto†modes in PS CS6. Besides this, he sometimes experiments with selective blurring, to generate uniquely looking images. To do this effect, he first selects the part of the image he want to keep focused; then he copies the rest into a separate layer, add a mask to it, and experiment with motion blurs. It is often useful to unlink the image from the mask in the blur layer.
Tips, Tricks and Techniques:
Daniel caught on to the blurred effect he outlined earlier when he accidentally panned his camera horizontally during a long exposure. The resulting image was quite interesting, and this led him to the idea that he could simulate it in Photoshop.
Another interesting effect was discovered when he was still shooting film, and accidentally breathed on his lens in cold weather. When he looked through the viewfinder (it was an SLR), he saw halos around the light sources as the condensation from his breadth receded. He realized that he could use this trick obtain a nice halo effect around lights at night.
Inspiration:
Daniel derives inspiration for his work from Ernst Haas who displays  mastery of color, light and movement in his work. Daniel is also inspired by David Hockney, who is not exactly a photographer, but has worked with photos and photo collages in a unique, inspiring way. However if Daniel absolutely must nominate a second “true†photographer, he would cite Don Hong-Oai, a Chinese photographer settled in the US and is somewhat less known but truly exceptional.
What’s Next:
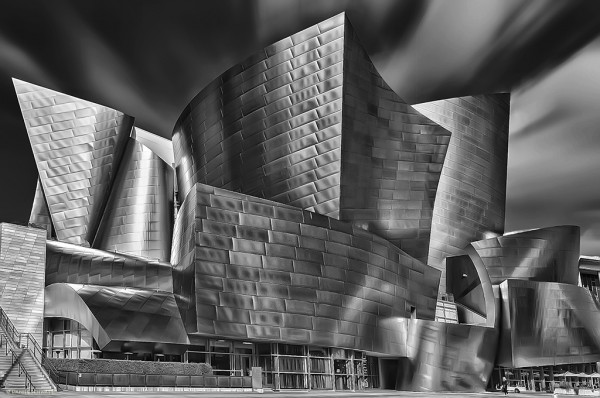
Daniel is captivated by long exposure architectural photography but he has not yet had the opportunity to dedicate himself to it.  High on Daniel’s bucket list is to photograph the American Southwest, especially “The Wave†and Antelope Canyon of which he says “I am deeply fascinated by the shapes and colors of the rocks.”  He also wants to go to Iceland in the future.
Links:
You can follow Daniel and find more of his work on Google+, Flickr, and 500px.

